Lampan lamp gets a retro shade
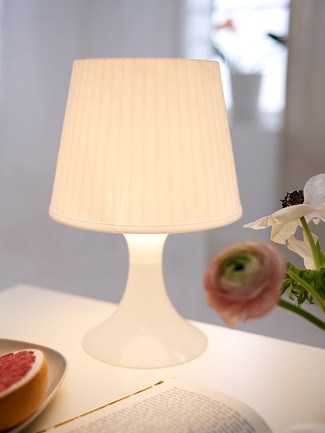 |
| Photo: IKEA.com |
The Lampan lamp.
At less than $5, it’s one of those things that you just mindlessly stuff into the blue bag. It’s just too cheap to pass over.
I don’t deny the Lampan is kinda cute and I like its simplicity quite a bit. My only gripe is it doesn’t offer much flexibility. You only have the base in white, black or red and white cone shade, black cone shade, red cone shade. Cone shade. You’re stuck. Unless you’re handy with a drill or like to mess with fabric and glue.
I didn’t like either.
So, I created a new paper shade for it. Part of the inspiration struck when I saw this paper shade and I thought its onion shape would make a bulb look fab. (Onion, bulb, get it? Or is it a lotus?)
Only teensy problem was there wasn’t a template for the shade. Not one to give up once the DIY bug got hold of me, I got into cutting mode and used up a stack of recycled paper before I finally got the right cuts. (Let me know in the comments if you’ll like the template. If there is enough demand, I’ll put it down on a pdf.)
This was also the lamp I shared at the Singapore Mini Maker Faire during my talk on IKEA Hacking. (I had a blast at the Faire. It was a totally new experience sharing about IKEA Hacking before an audience. Met some new friends too!)
Okay, enough of yakking. Now, on to the shade.
WHAT YOU’LL NEED:
LAMPAN lamp
Paper for the shade (I used recycled paper but you could also use coloured paper. Remember the thicker the paper the less light it emits. But the sturdier the shade will be)
Cork (which I cut out from my HEAT trivet)
4 Pins
Wire (I used twist ties because that was what I had in hand, but on hind sight it is probably better to go with stiffer stuff)
3M Scotch Mounting
THE STEPS:
Open up the Lampan. Set the plastic shade aside.
Cut out 19 pieces of the paper shade template.
Punch holes for the wires to go through.
Assemble the tubes, interlocking the cuts.
Thread the wires through the holes in the tubes.
Twist both ends of the wires together.
Gently shift the tubes to ensure that they are all standing straight and are evenly spaced out.
You could just stand the shade on the Lampan base (in which case you may need fewer tubes) but I thought it looked better hanging a bit lower.
If you want hang it lower, do the following:
On the Lampan lamp base, stick a piece of cork with mounting tape at position 12, 3, 6, 9 (as in a clock face).
At the similar 12, 3, 6, and 9 positions of the shade, measure 2 cm from the bottom of the tube and make a mark on the paper shade. This is where you are going to pin the shade in.
Drape the shade over the Lampan base.
Stick a pin through the shade into the cork on the Lampan base to secure the shade to the base.
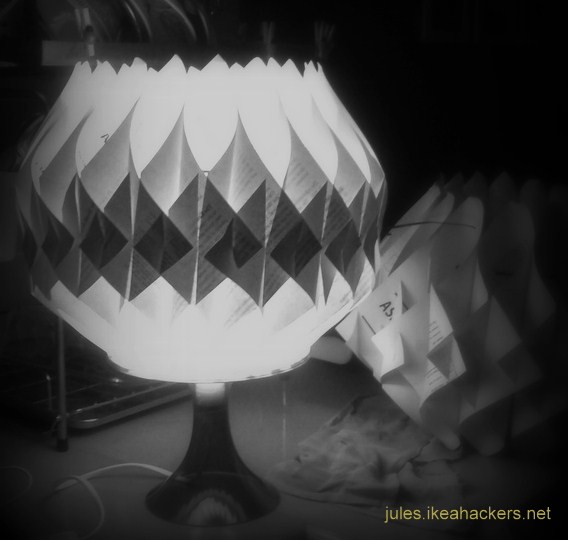
Plug in the Lampan lamp and turn it on. The paper shade gives it a totally new look. Should you tired of it, you can change it easily with new paper and colours.

Here it is sitting lower than the lip of the Lampan lamp. Looks a little lopsided because twist ties aren’t too straight. I should have taken the cue from its name. *Slaps forehead*
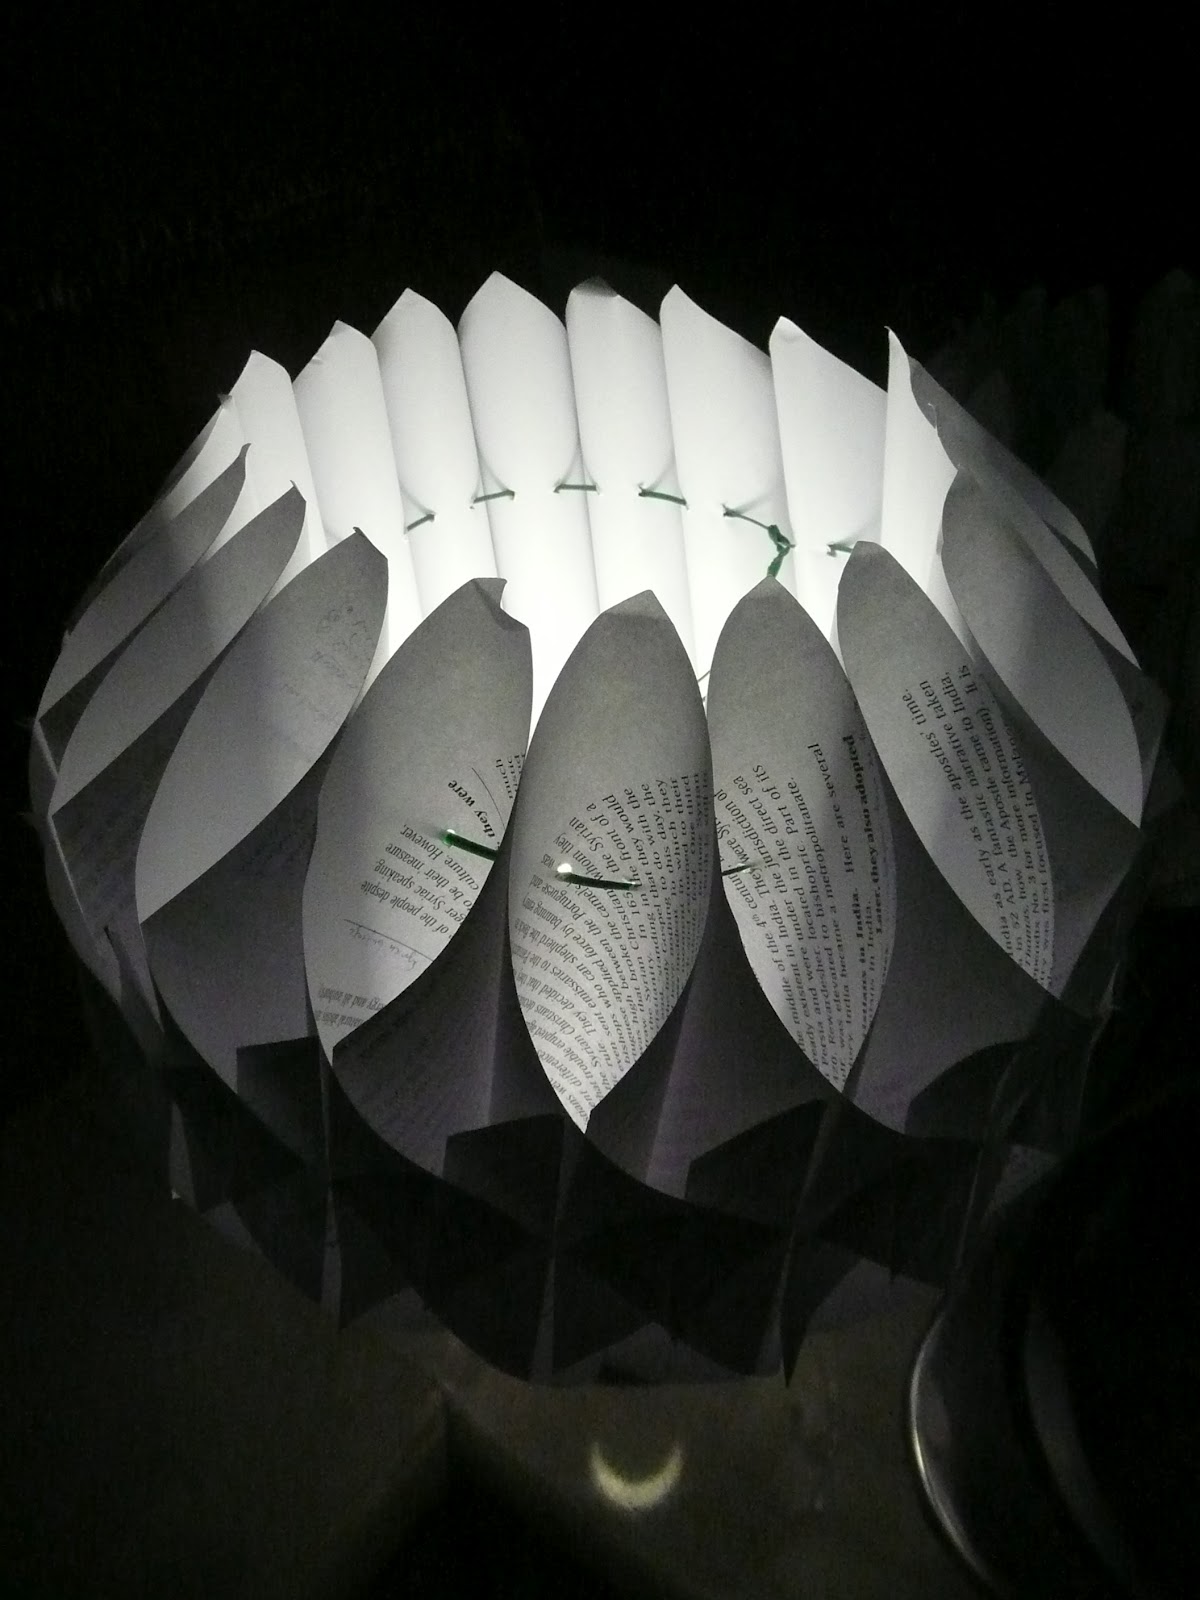
View from the top. I like the words peeking through.
As for the original plastic shade, you can turn it into a hanging planter or a desk caddy or waste paper basket. If you’re not into lamps, the Lampan is a versatile little bugger. It works nicely as a speaker stand and cake stand too.

I like to work with paper and think your shade is quite elegant! Are there 2 rows of punched holes or just one?
Christine
Thank you! 🙂
It has two rows of punched holes. Top and bottom to hold the tubes together.
Impressive!
Magnifique !
Jules this is beautiful if I can find my cutting mat I'll be making one tomorrow!
This looks fantastique!! Would you mind sharing the tmeplate?
I love the lamp and shade. I respectfully request a .pdf
I LOVE your blog.
Anons, let me dig up the template and get it down on a pdf. Perhaps in a week or two? 🙂